Installation Instructions
Here you can find detailed instructions on how to install and register your copy of iolite v4. Once you have installed iolite v4, the registration process is the same for Mac and Windows.
Moving your license to another computer
Setting up your installation and setting preferences
Warning
iolite v4 does not run on 32-bit computers.
Warning
You will need Administrator access privileges to install iolite. If you do not have regular admin access to your computer, you can install iolite v4 with an admin account, and while iolite v4 is still open, change the paths to Reference Materials, etc in Preferences. More detail on paths is available below under Paths.
Windows Installation Instructions
Here are the instructions on how to install iolite v4 on Windows:
Download the installer package from this link .
Double-click the installer to run. It will look something like this on your computer:
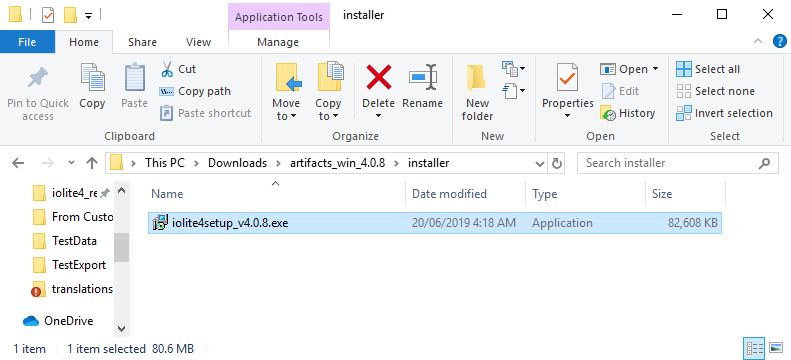
Hint
Your installer's file name may have different version numbers in it (e.g. iolite4setup_v4.0.8.exe). These are just for reference, and as long as you downloaded the file from the link above, you should have the latest version. If you have downloaded an older version, when iolite starts up you can automatically update your version, as explained below step8.
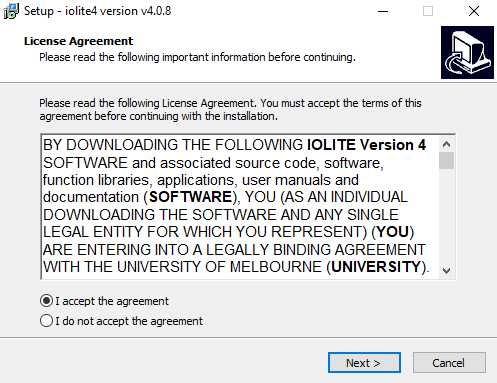
When you double-click the installer, you will be presented with the license information. It will look something like the image below. Please click the Next button when you have read the license.
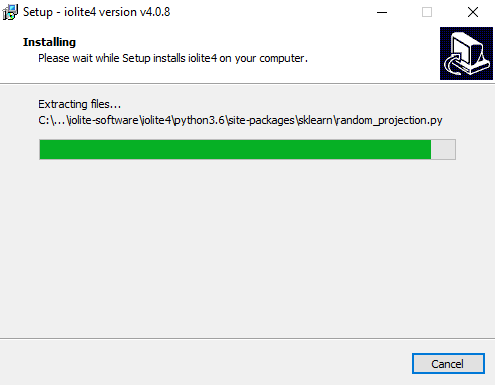
You should use the default installation location (C:\Program Files (x86)). We recommend making both desktop and start menu shortcuts (it makes it easier to find iolite v4 when you need it). The installer will then copy all the required files.
When the installer has finished installing all the required files, you should then launch iolite v4 and click Finish.
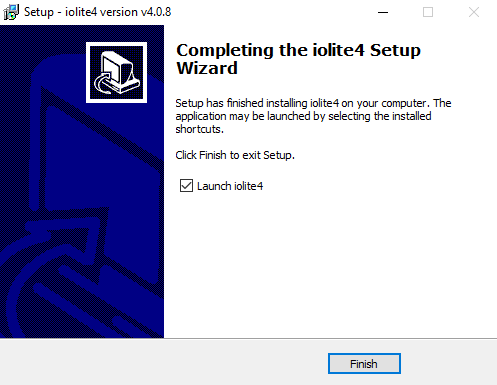
You can now follow the registration instructions
Mac Installation Instructions
Download the installer package (.dmg file) from this link .
Hint
Your file name may have different version numbers in in (e.g. iolite4_v4.0.8.1.dmg). These are just for reference, and as long as you downloaded the file from the link above, you should have the latest version. If you have downloaded an older version, when iolite starts up you can automatically update your version, as explained below (Step8).
Double-click the dmg to run. It will look something like this on your computer:
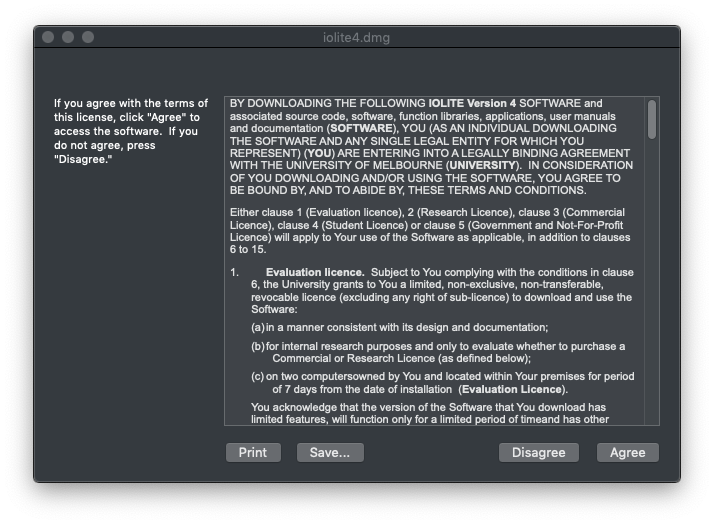
After reading the End User License Agreement (EULA), click Agree to continue. The dmg will extract and verify the files. You will then see a window that looks like this:
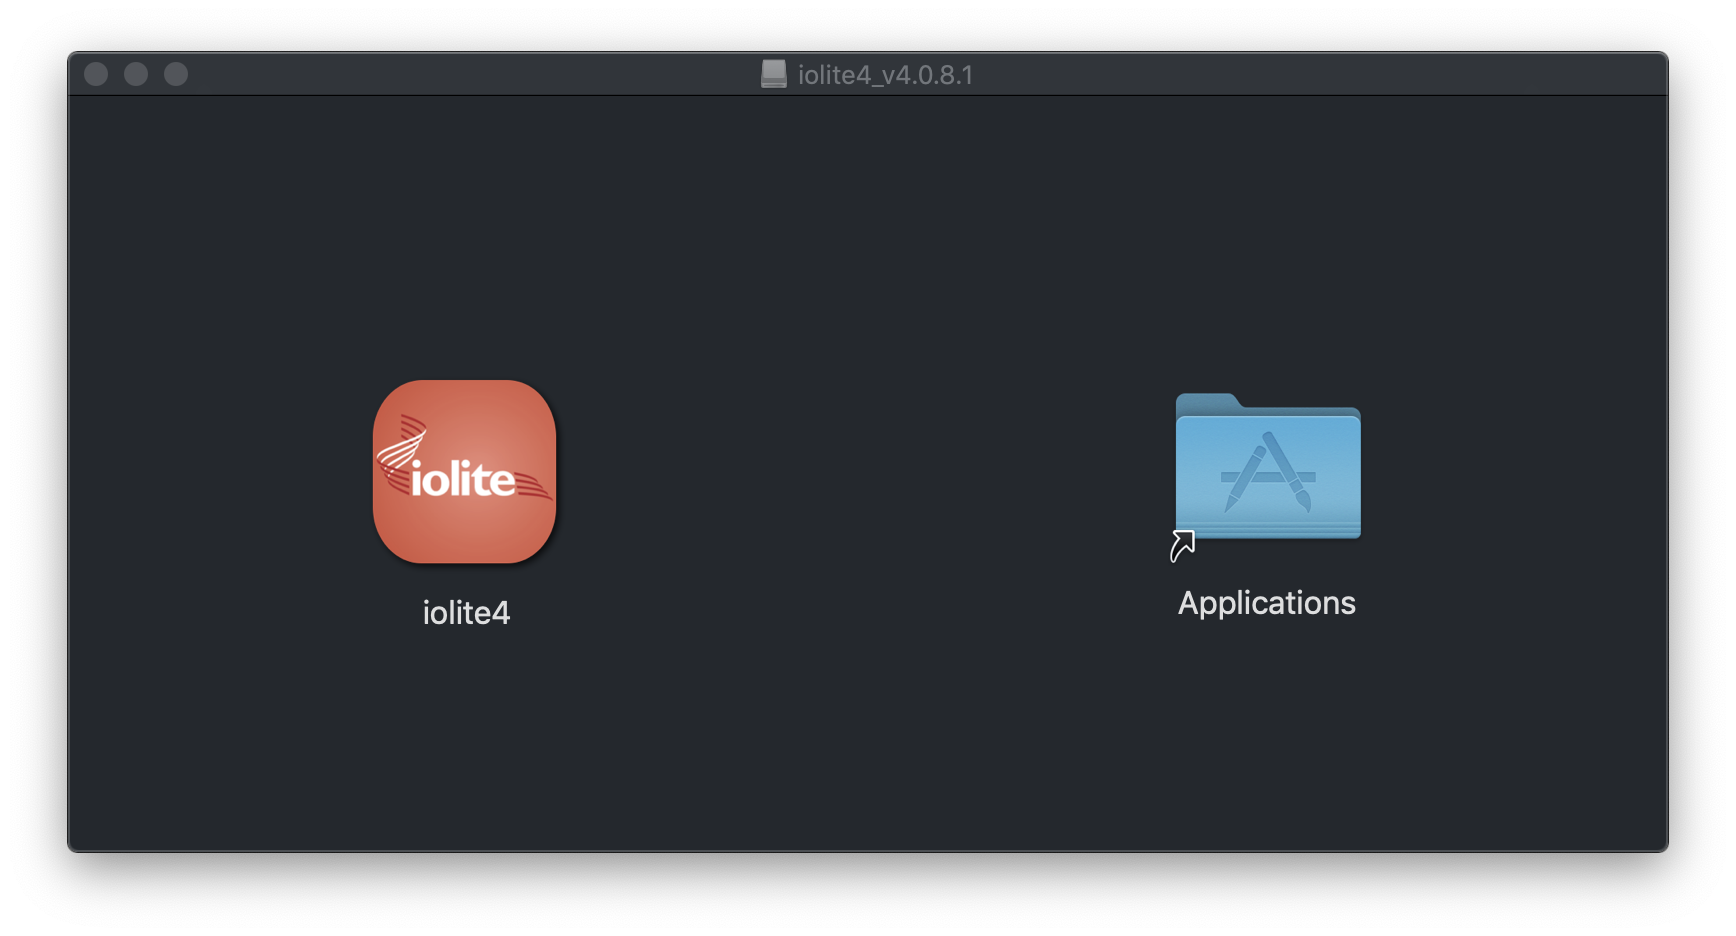
Drag the iolite4 icon onto the Applications icon. This will install iolite4 in your Applications folder. Once is has finished copying the files across, you can double click the Applications icon to take you to the Applications folder. Scroll down until you find the iolite4 application and double-click it to launch it. It will try to verify but fail and show you the following window:
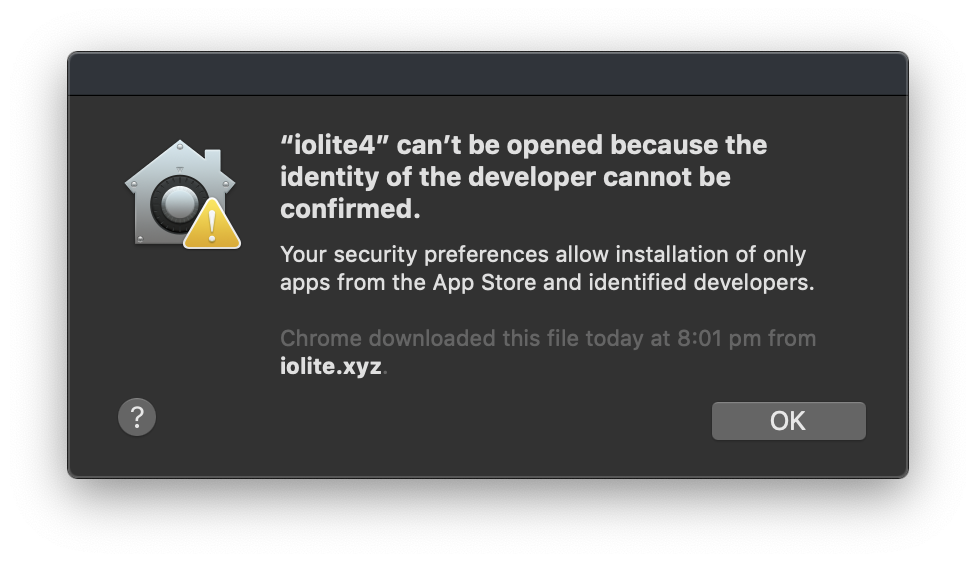
Click OK to dismiss this window. Click on the apple icon in the far top left corner of your screen. This brings up the Apple menu. Click on System Preferences. Go to Security and Privacy. Check to make sure that it says "iolite 4 was blocked from opening because the identity of the developer cannot be confirmed" and click on the Open Anyway button. It will ask you again if you want to open the application. Click on Open. You'll only have to do this the first time you open iolite v4.
You can now follow the registration instructions
Registering iolite (including starting a trial)
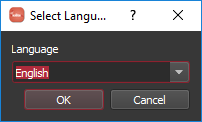
When iolite starts for the first time, you will be prompted to enter your language. We recommend starting with English. You can always change this later on.
Hint
You can change your display language at any time by going to Preferences -> Language.
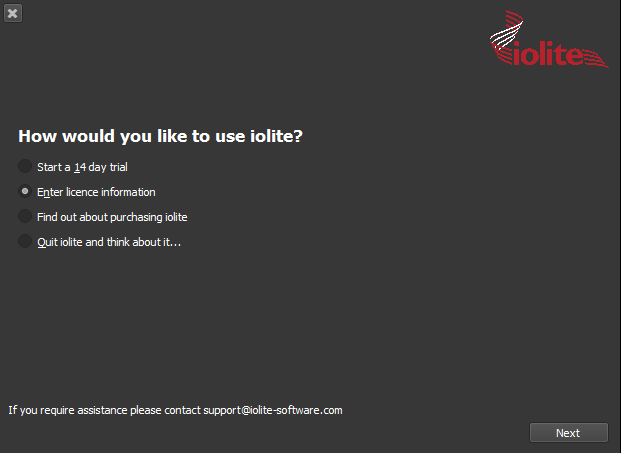
iolite will then ask you about your license. If you have already purchased a license, you should enter your licence details now by selecting the "Enter license information" option. Otherwise, select "Start a 14-day trial" option and accept the license agreement to start a trial.
Warning
Trials cannot be restarted, so please do not start the trial if you don't think you'll have time to evaluate the product in the next 14 days.
If you are using the trial you can skip to Step7 .
If you are entering your license details, please enter your name, your email address, and the license key you received at the time you purchased iolite. If your computer is connected to the internet, iolite will automatically connect to the iolite license server to check your license details are valid and register your copy of iolite. As you start entering your license key, the field will be orange until you have entered a valid number of characters. It will turn green when you've entered the correct number of characters.
Hint
iolite never shares your personal information (including your email address) with any third party without your written consent.

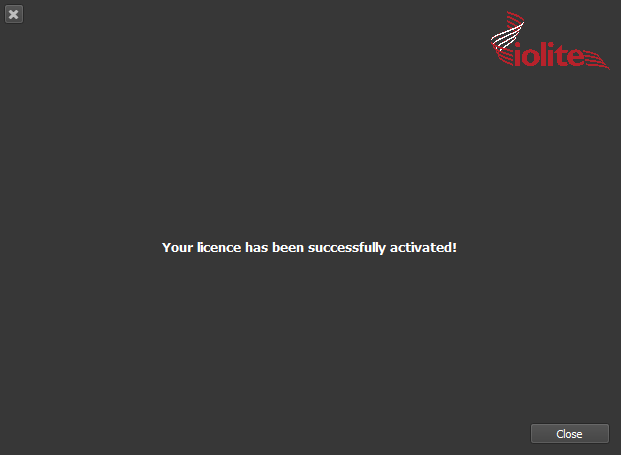
If you computer was able to connect to the iolite license server and you have entered a valid license key (and have not exceeded the number of installations for the license key) you will see the following message:
You can now skip down to Step7 .
If your computer is not connected to the internet, you can uncheck the "Activate Online" checkbox, and you will see some additional information.
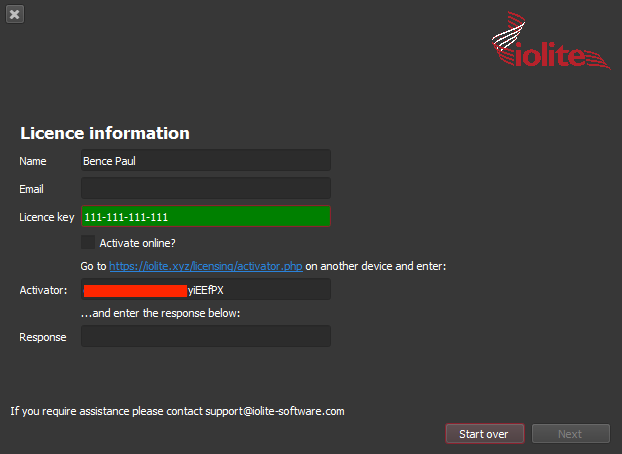
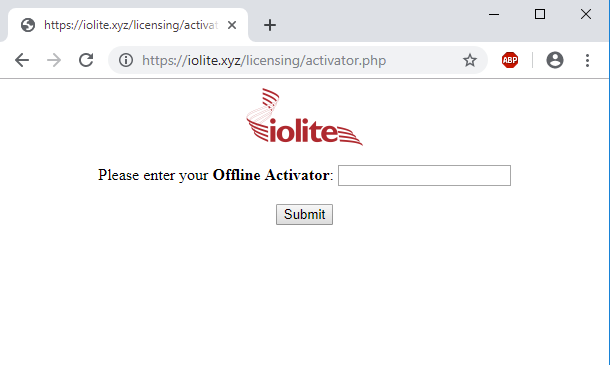
You need to copy the text in the Activator field. This is a code is unique to your computer. Go to the link listed (https://iolite.xyz/licensing/activator.php/) on an internet-connected computer.
Enter the Activator characters into this website. It will record the installation in the iolte licence database and give you the full Activator string (the list of characters you need to enter into iolite)
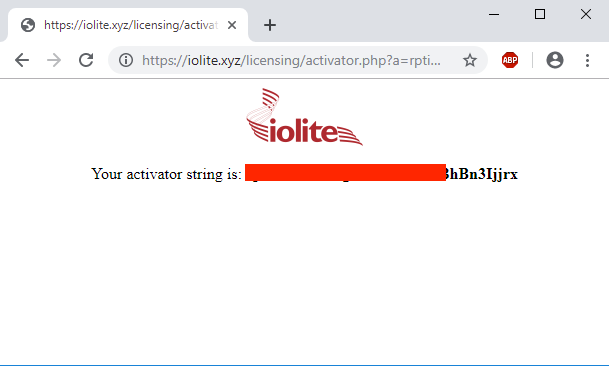
Once you have entered this full activator string into the Response field of iolite v4, you should see the successful registration message shown in Step 4.
Once your copy is successfully registered, or you have started your 14-day trial, you will then be presented with the iolite Welcome Window. This window appears whenever you start iolite.
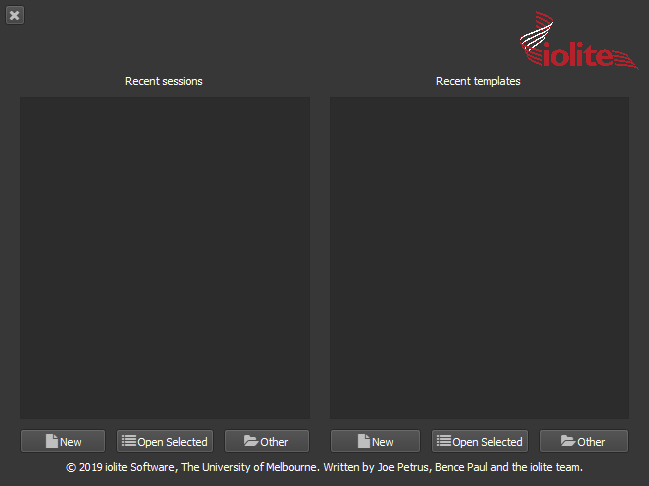
The left side of this window shows recently saved sessions (called experiments in iolite v3). The right side shows recently used Processing Templates. If this is the first time you're running iolite, both lists will be empty. You can start a new session by clicking the New button on the far left. This will open the main iolite window were you can start using iolite.
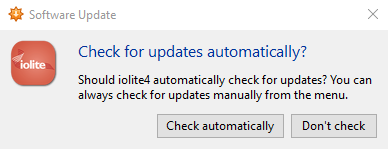
iolite will ask you about automatic updates. We recommend that you Check Automatically so that you always get the latest bug fixes and updates, including new features. This feature will only work if your computer is connected to the internet. If your computer is not connected to the internet, we recommend signing up to the iolite mailing list by emailing us at support@iolite-software.com to get notifications about major updates. You can check for updates at any time by going to the Help menu -> Check for Updates.
Setting up your installation
The first time you run iolite if you are a new user (or the first time you run iolite after updating to v4.3.14 for users of earlier versions), you will be guided through several steps to set up your iolite installation. There are five screens that will appear. The first is shown below.
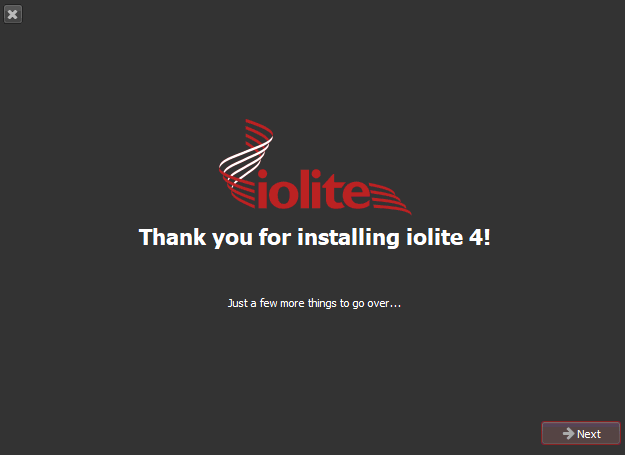
Click Next on this screen to begin the setup. The next screen allows you to select your iolite folder. Your iolite folder is where you can store your reference materials, script and any other custom files that you want to edit/create. This folder is important because all files in folder where iolite is installed (e.g. C:Program Files (x86)iolite-software) may be overwritten when iolite updates itself. Depending on how your computer is setup, you may also have trouble editing files in this folder. The folder you create in this step should be somewhere that you have full read/write access. Normally this would be in your home folder, perhaps your Documents folder. By default, iolite will try to save a new folder in your Documents folder. If you want to specify a different folder, click the Choose a Folder button.
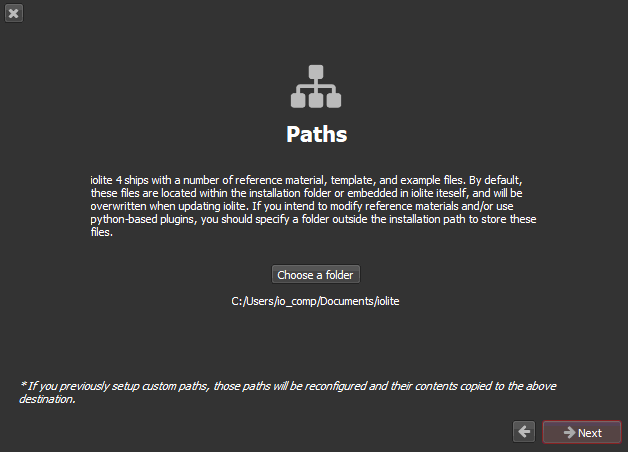
- When you click Next, iolite will create your iolite folder in the selected location. This folder has the following sub-folders:
- Plugins:
a folder to store your custom plugins (e.g. python import modules, QAQC modules etc)
- Reference Materials:
a folder to store your Reference Material files.
- Scripts:
a folder containing example scripts from the iolite team
- site-packages:
a folder to store additional python site-packages for use with iolite v4.
For those upgrading from earlier versions of iolite 4 (i.e. versions 4.0 to 4.3.14) if you already have custom paths setup, this step will copy across any files in your current folders. For example, if you have an existing Reference Materials folder setup, iolite will automatically copy any files from this location to your new iolite folder.
Click the Next button to create your new iolite folder and to move to the next stage.
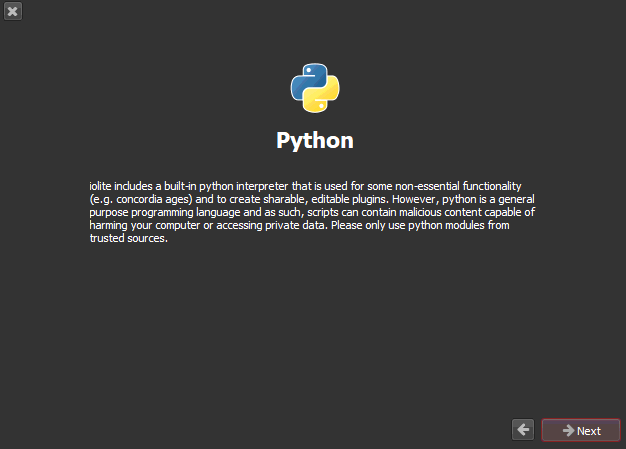
You will then be shown a warning about running scripts in iolite's built-in version of python. You should only run scripts from trusted sources. Click Next to continue.
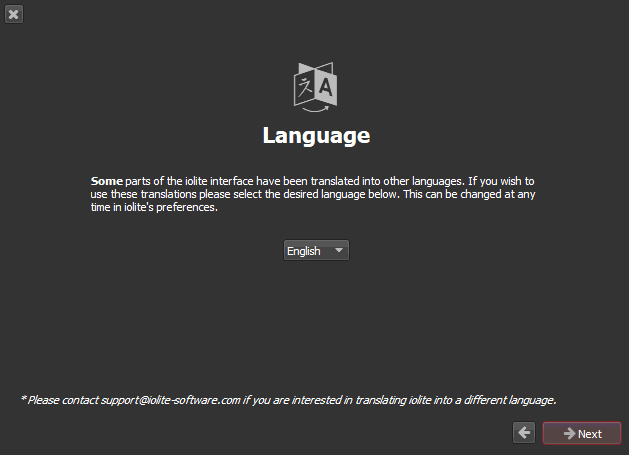
iolite will ask which language you want to use. Currently there are only a few options available, but if you're interested in helping translate iolite to others, please get in touch.
Click Next when you have selected your preferred language.
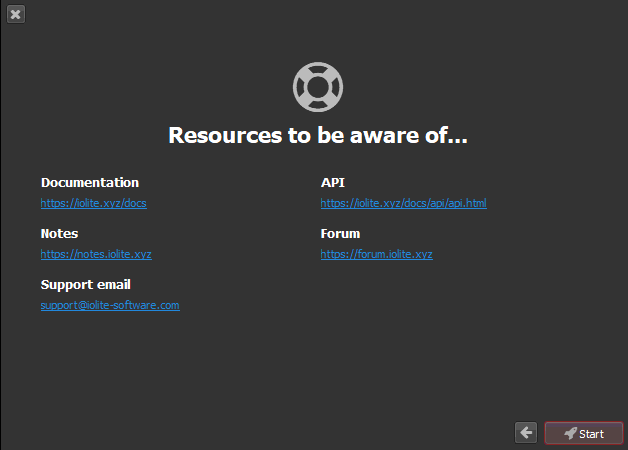
This window shows some of the resources available for learning more about iolite. We recommend adding these as bookmarks to your web browser. At this point, iolite is now setup and you can start using iolite.
There is more information below about setting up your preferences in iolite. Now that you've successfully installed and registered iolite, you might want to follow one of the detailed tutorials or view one of the recorded iolite webinars .
Note
There is a known issue when updating from versions earlier than v4.0.9 to later versions where iolite appears to shutdown immediately after launch, without showing any windows. iolite may also tell you that "There was a problem with your python site-packages". This is caused by an incorrect python site packages path, which is normally set in the Preferences window. However, when iolite does not fully start, it's not apparent how to reset this path (because the window never opens). You can fix this by holding down the Shift key when iolite starts. A small dialog will appear asking if you want to reset your settings (this window may be hidden behind other windows). Click Yes, and iolite should continue to start up and your issue is now fixed. If you don't see the small dialog asking to reset settings, please try restarting with the Shift key already pressed: there is a very short interval during which iolite checks if the Shift key is pressed to offer the option.
Moving your license to another computer
If you would like to move your iolite licence to another computer, please go to the Licence section of iolite's preferences, and click the Deactivate Licence button. This will contact the licence server and free up an install for another computer and remove the licence from the current computer.

After deactivating a licence, iolite will close.
Setting preferences
iolite is highly customisable. You can see most of the options available to the user in the Preferences window (on Mac, Preferences is in the iolite4 menu; on Windows it is in the Session menu). The window will look like this:
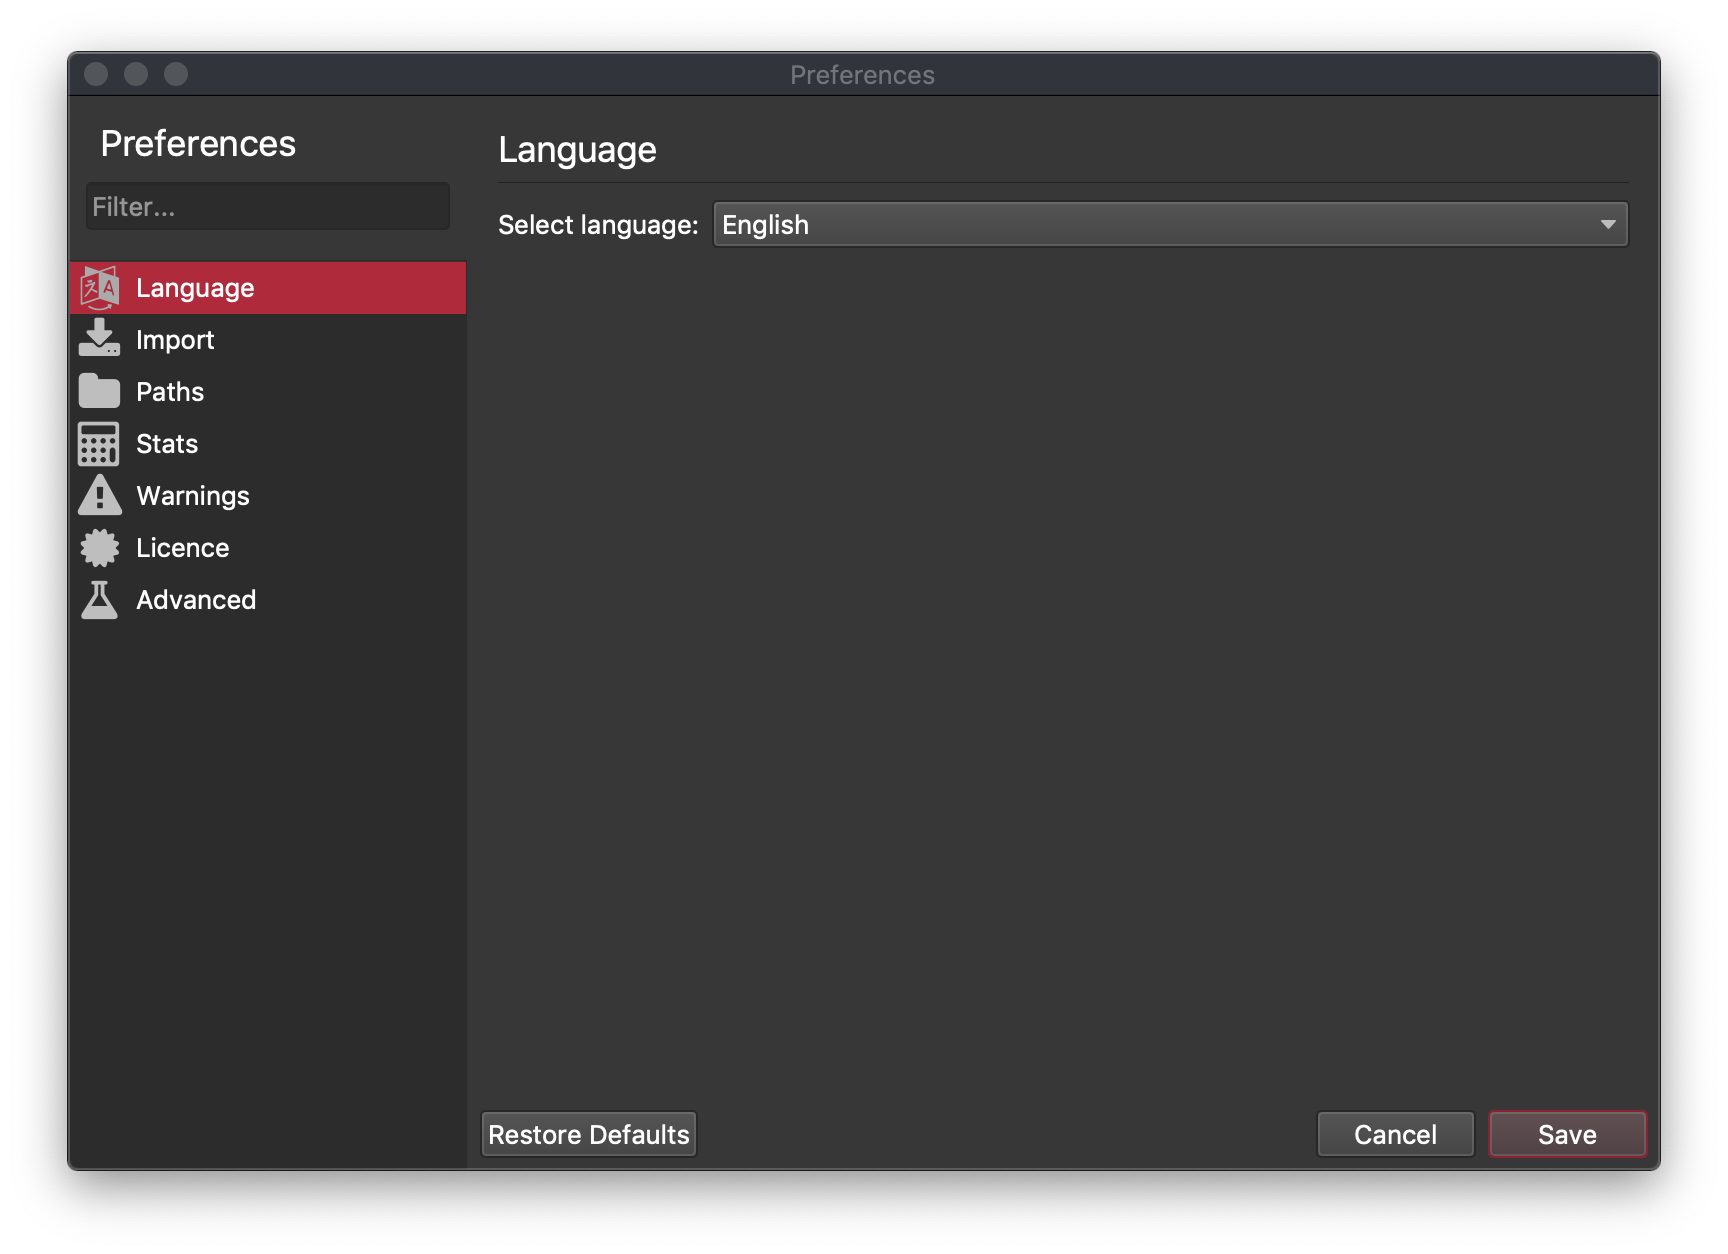
In this window you can set a variety of preferences and settings, and they are arranged in groups (e.g. Import settings). You can also use the Filter search field on the top left to search for a particular setting.
Language
Here you can set your display language. Currently, only Chinese and Spanish are available and are works in progress. If you are interested in translating iolite into your preferred language, please contact us at support@iolite-software.com.
Import
Here you can set the timestamp format for Agilent and X-Series mass spec files. Other mass spec files do not require you to set the timestamp format as they have constant formats.
Hint
If you hover the mouse over the time stamp format field, you can see an explanation of each of the time symbols
The data locale sets the form of dates and times, and should generally be left as English.
Paths
Here you can set where iolite looks for certain files.
- Reference Materials:
This is the folder of Ref Mat files that iolite will read on start up. The files must be iolite v4 format (.json files). You can convert iolite v3 Ref Mat files to v4 format using the Import iolite3 RM file tool in Tools menu.
Warning
If you do not have Administrator Access to your computer, you should change the location of this folder at installation so that you can load, edit and save Ref Mat files. Similarly, any changes made to the Reference Materials in the default folder location will be overwritten when iolite next updates.
Click on the folder icon to select the folder where iolite should look for reference material files. If you created a custom folder during installation (above), you should select that folder now. You can check if iolite is correctly reading the files by saving the new folder location, and going to the Reference Materials Browser (in the Data View) and checking that all your reference materials are available.
- Processing Templates:
This is the default folder iolite will look in for Processing Template (.tpl) files.
- Importers:
This is the folder where any custom importers you have written have been stored.
- Data Reduction Schemes:
This is the folder where any custom Data Reduction Schemes you have written have been stored.
- QAQC Modules:
This is the folder where any custom QAQC modules you have written have been stored.
- UI Plugins:
This is the folder where any custom UI PlugIns you have written have been stored.
- Python Site Packages:
You can define a folder containing Python 3.6 site packages here. You can also add site packages to the listed folder to add packages available to you in iolite v4
Hint
You can check whether your custom importer/DRS/QAQC module/UI PlugIn has loaded by going to Tools -> PlugIn Manager and finding the entry in the list of loaded plugins. If the custom file is not shown in the list (or shown, but listed as not working), iolite was not able to load your file.
Stats
Here you can set the options for outlier rejection for baseline and normal (any non-baseline) selections. "Mean no outlier reject" means that all data within the selection interval will be used to calculate the mean/median for each channel. An outlier in one channel may not be an outlier in another channel, and so the number of outliers rejected is channel dependent. "Mean with 2 S.D. outlier reject" means that iolite will calculate the mean and 2 SD for data within the selection interval, and then remove any datapoints greater than 2 SD from the mean. It will then recalculate the mean/median on this potentially smaller set of datapoints. When we say "remove" here, the datapoints are not removed in any permanant sense. The are just removed from the set of datapoints that are used to calculate the mean in the current results calculation. If you change your baselines etc, a point that was previously considered an outlier may no longer be considered an outlier and remain in the dataset used to calculate the mean. "Mean with 3 S.D. outlier reject" is exactly the same except that datapoints greater than 3 SD from the mean are removed from the mean calculation.
"Median with MAD error no outlier reject", "Median with MAD error 2 S.D. outlier reject" and "Median with MAD error 3 S.D. outlier reject" are exactly analogous to the above descriptions using the mean and standard deviations, except that the median and mean absolute deviation (MAD) is used. The MAD is very similar to SD, except like the median, it is less affected by outliers. If you suspect that you have strongly non-normally distributed data, you should consider using these options as they will be more robust in the presence of outliers.
Warnings
Here you can reset whether you are warned about certain actions. There are occasions where you may be repeatedly presented with warnings, and you may want to stop receiving these warnings by checking the "Do not show me this warning any more" option. You can reset the warnings in this window. This is still a work in progress.
License
Here you can view information about your iolite v4 license, including the license key used to register this copy of iolite, your license expiration date, and license type. If you wish to uninstall iolite on this computer and install it on another computer, you should click the Deactivate License button before uninstalling iolite so that you can use the license on another computer. If you have any questions about this, please contact us at support@iolite-software.com.
Advanced
Here you can set whether iolite runs as a multi-threaded application. The advantage of running as a multithreaded application is that it makes use of all your computer's processing cores, and allows for parallel calculations. This can drastically improve calculation times for things like importing data, running a DRS or recalculating results. However, it also introduces an increased likelihood of crashes and hangs (where iolite stops responding). If you are having consistent issues with a certain process, uncheck the multithreading options, and see if it helps. Please contact iolite support if you do find a reproducible bug associated with multithreading.
Restore Defaults
You can restore all default settings by clicking the Restore Defaults button at the bottom of the window. This will restore default values for all settings, not just those currently shown in the window.